Cards
 icon. Doing so opens the Cards module.
Cards
 button.

From Scratch

Select Card Type & Continue


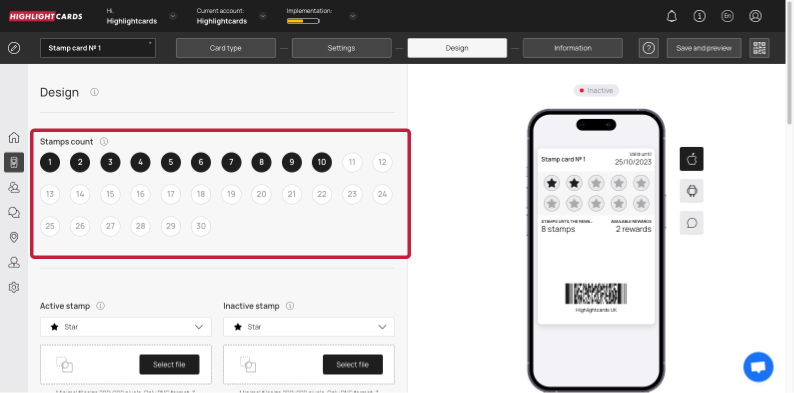
Stamp Count
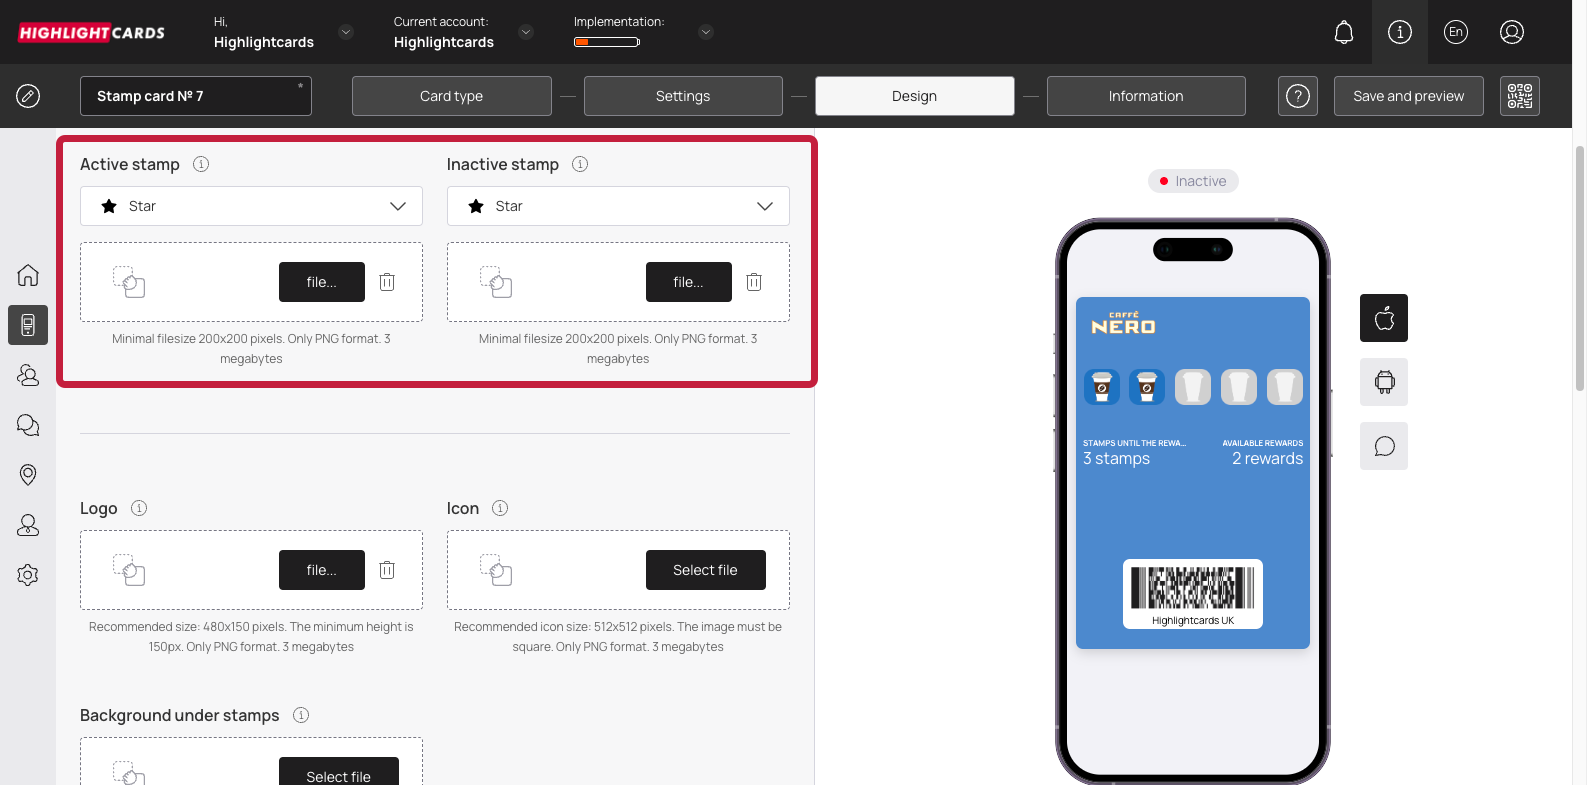
Active Stamp

Select File - Logo
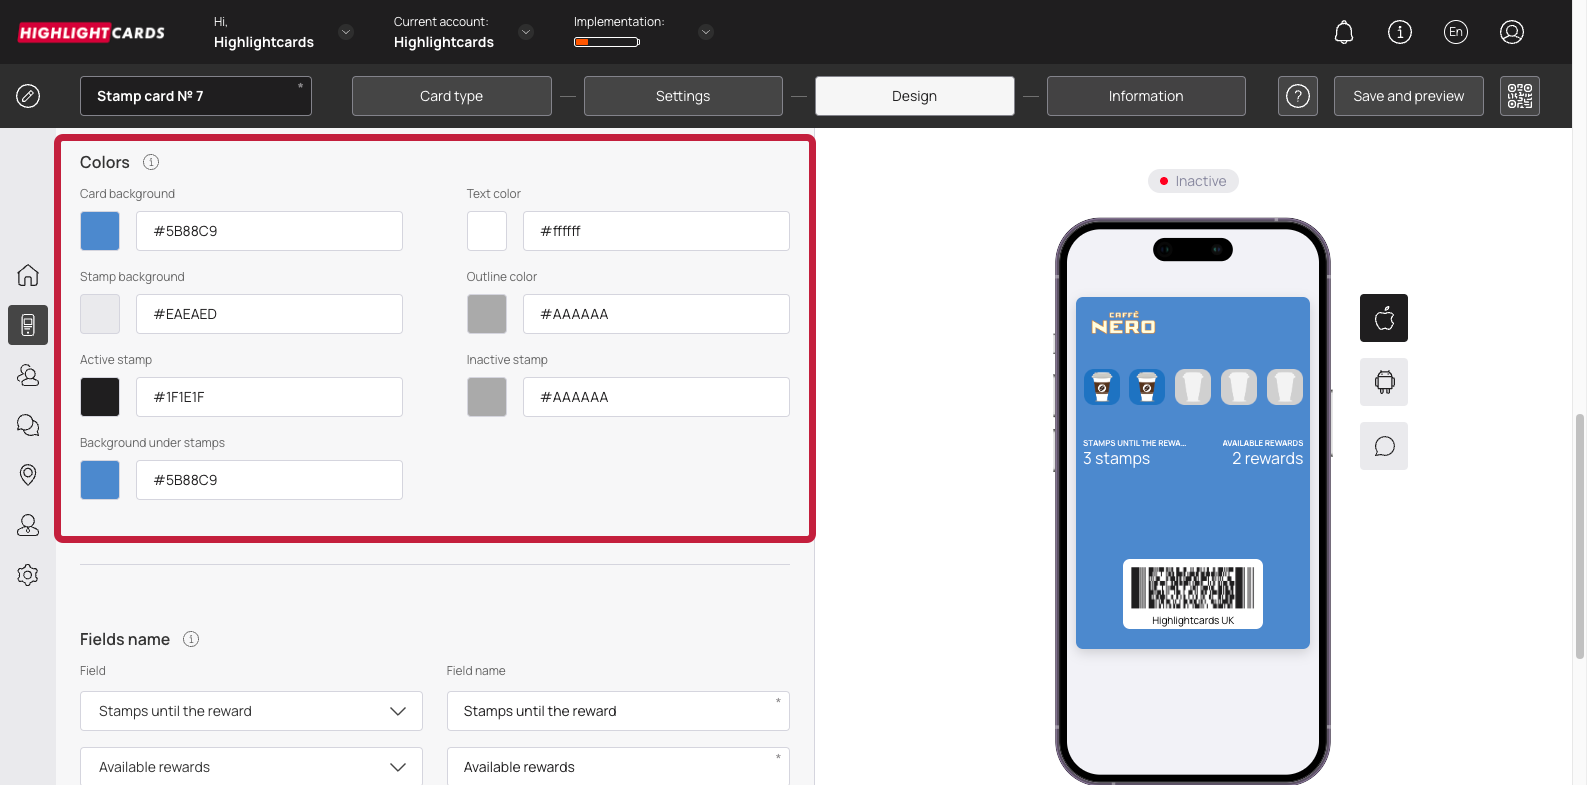
Colors

Fields Name

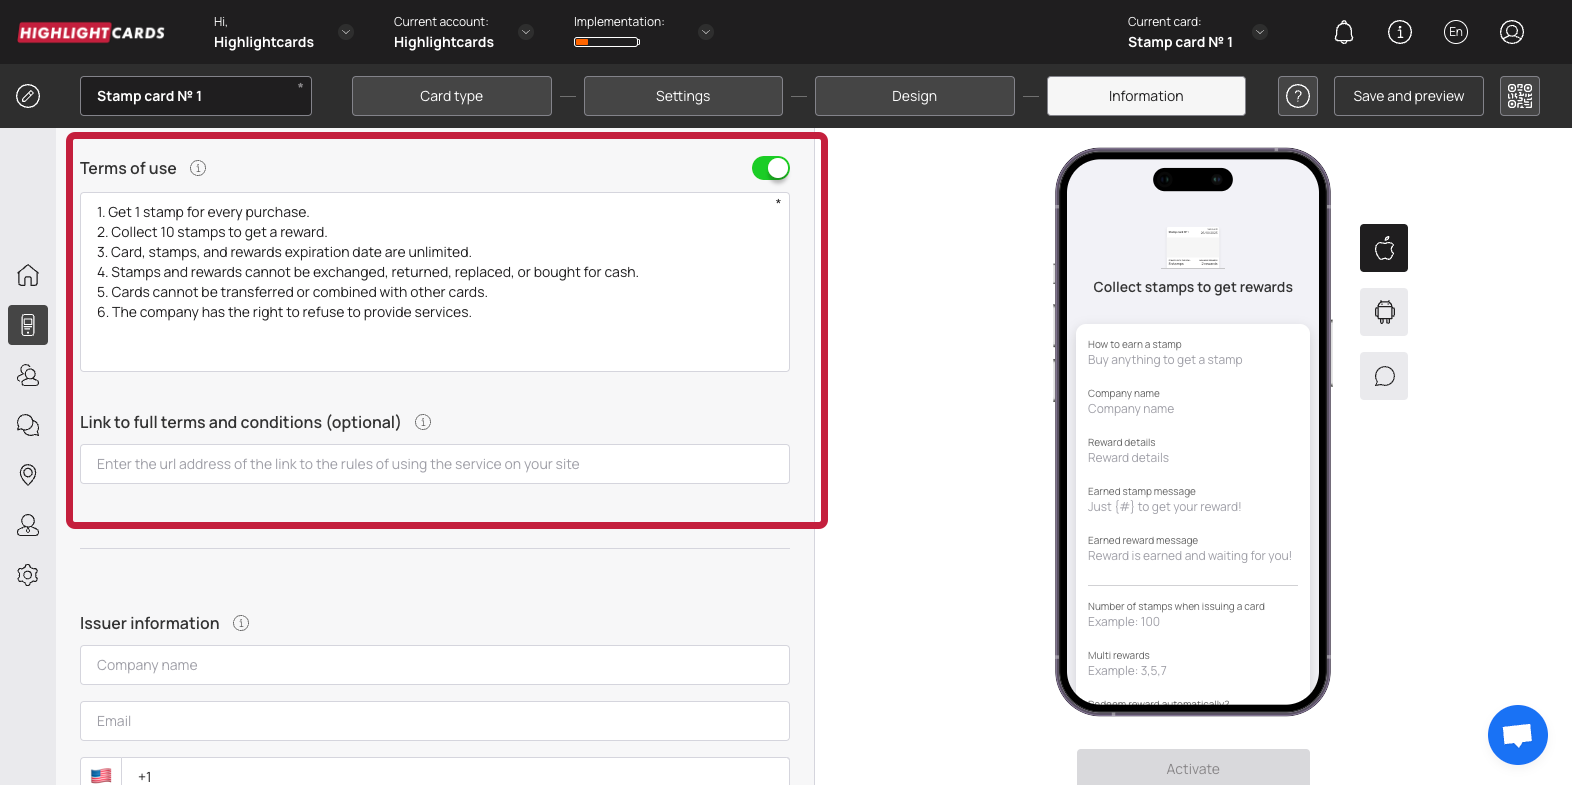
Show Logo
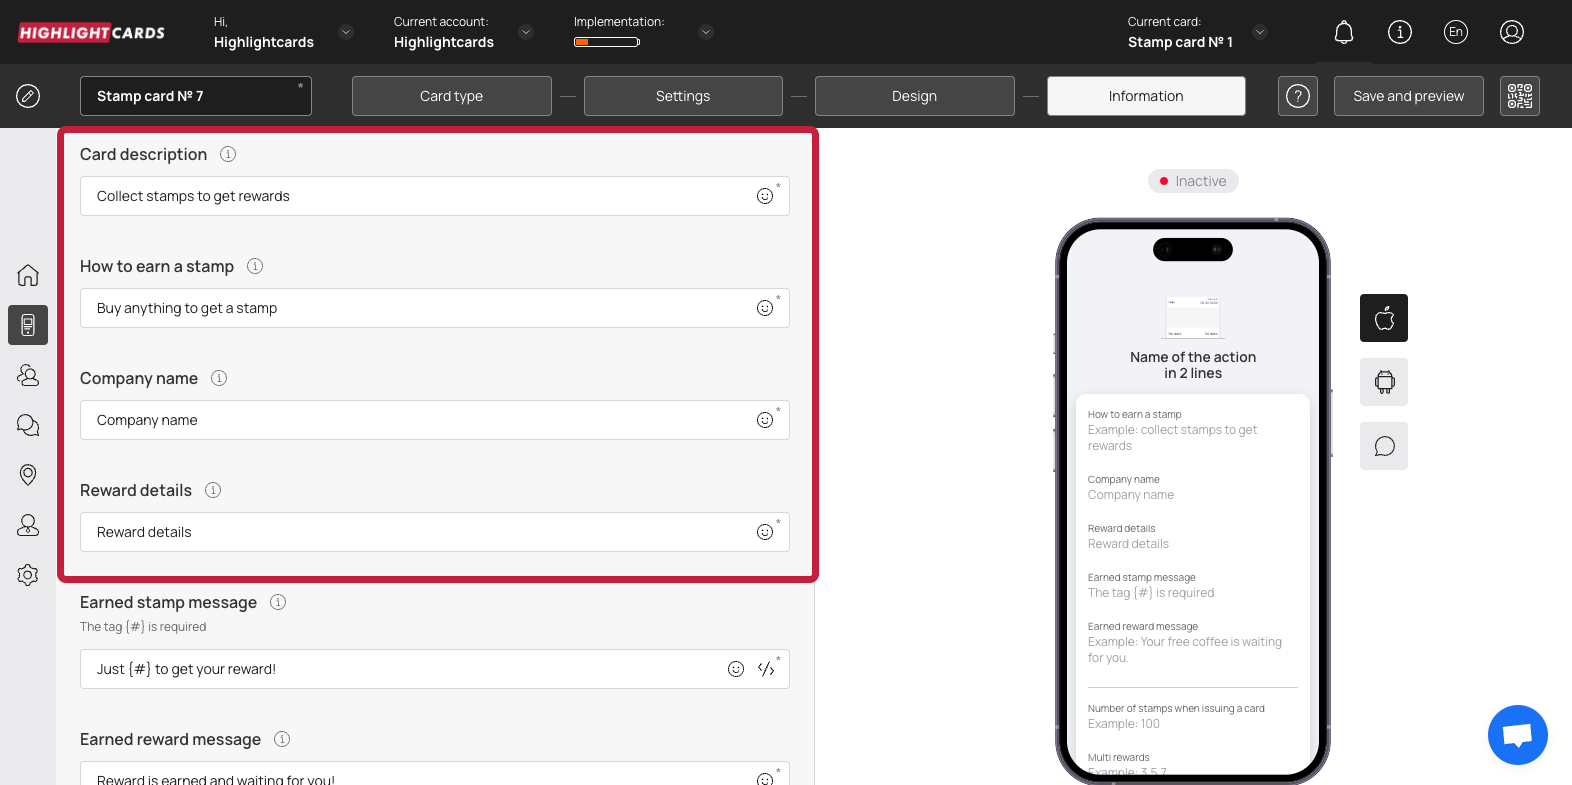
Card Description
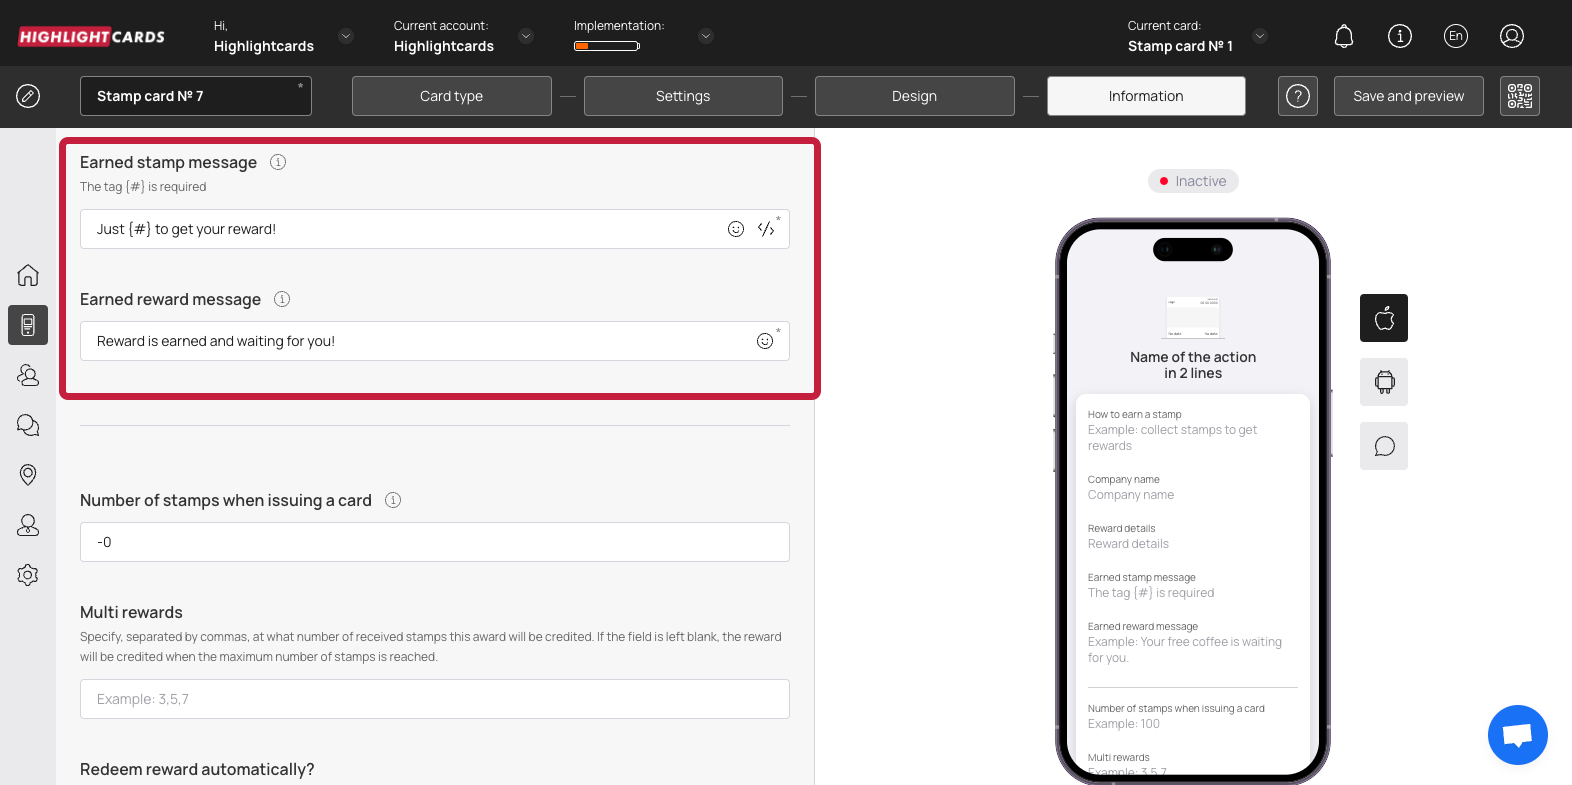
Earned Stamp Message

Number of stamps when issuing a card

Referral Program
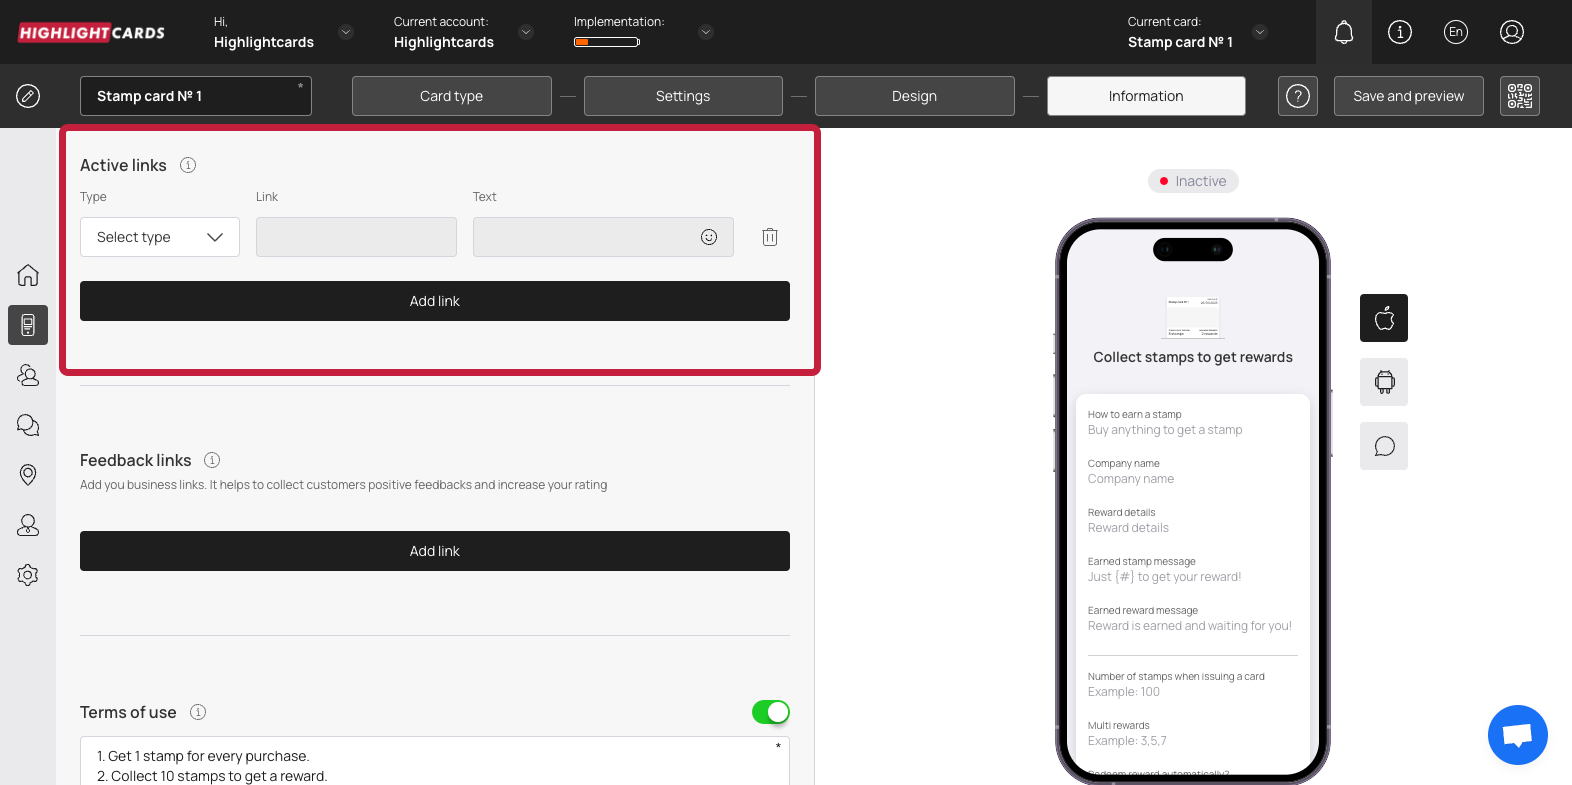
Type
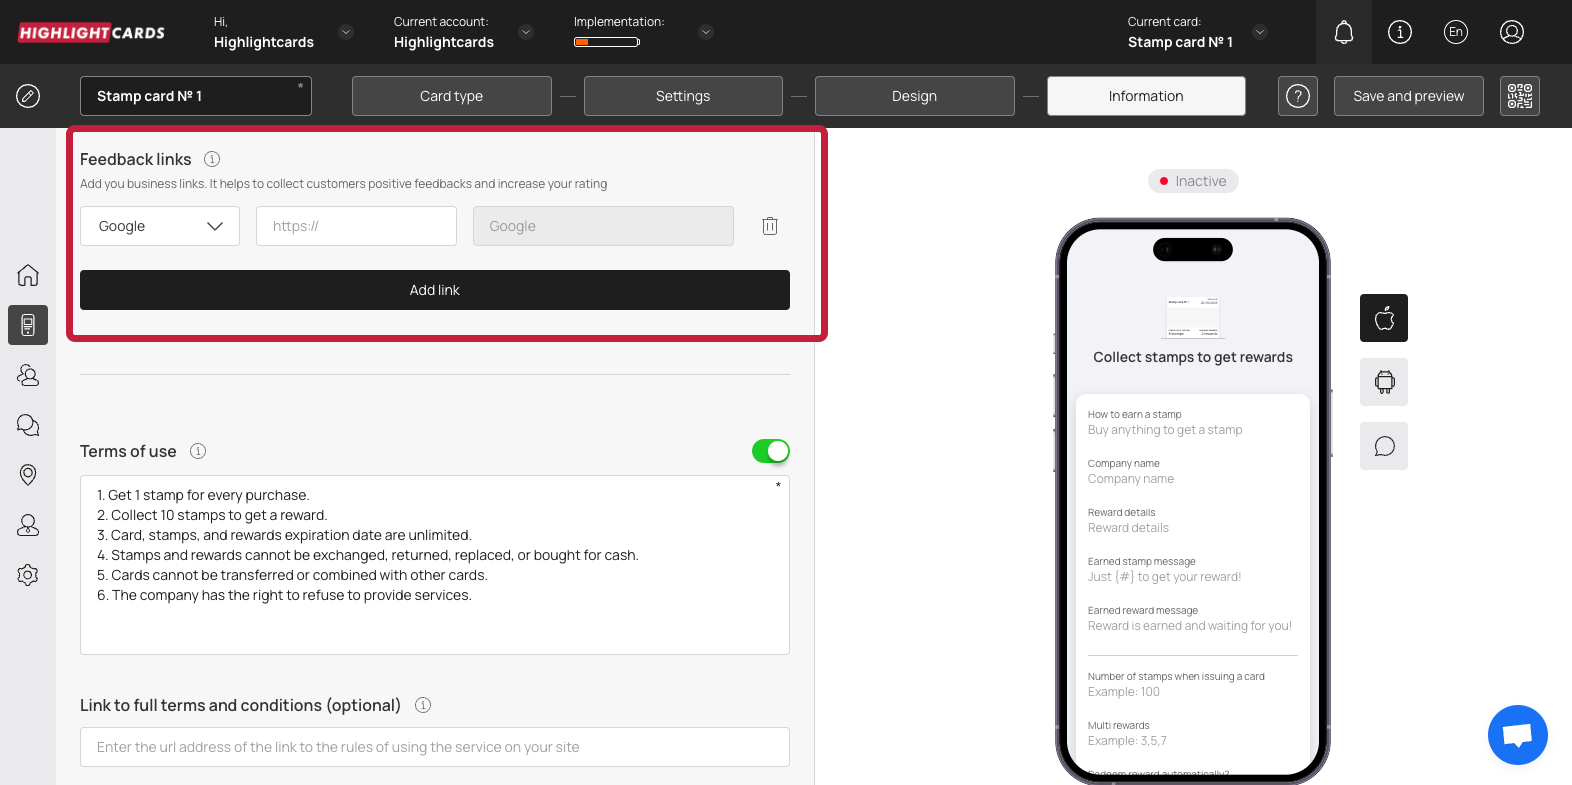
Feedback Links
Toggle
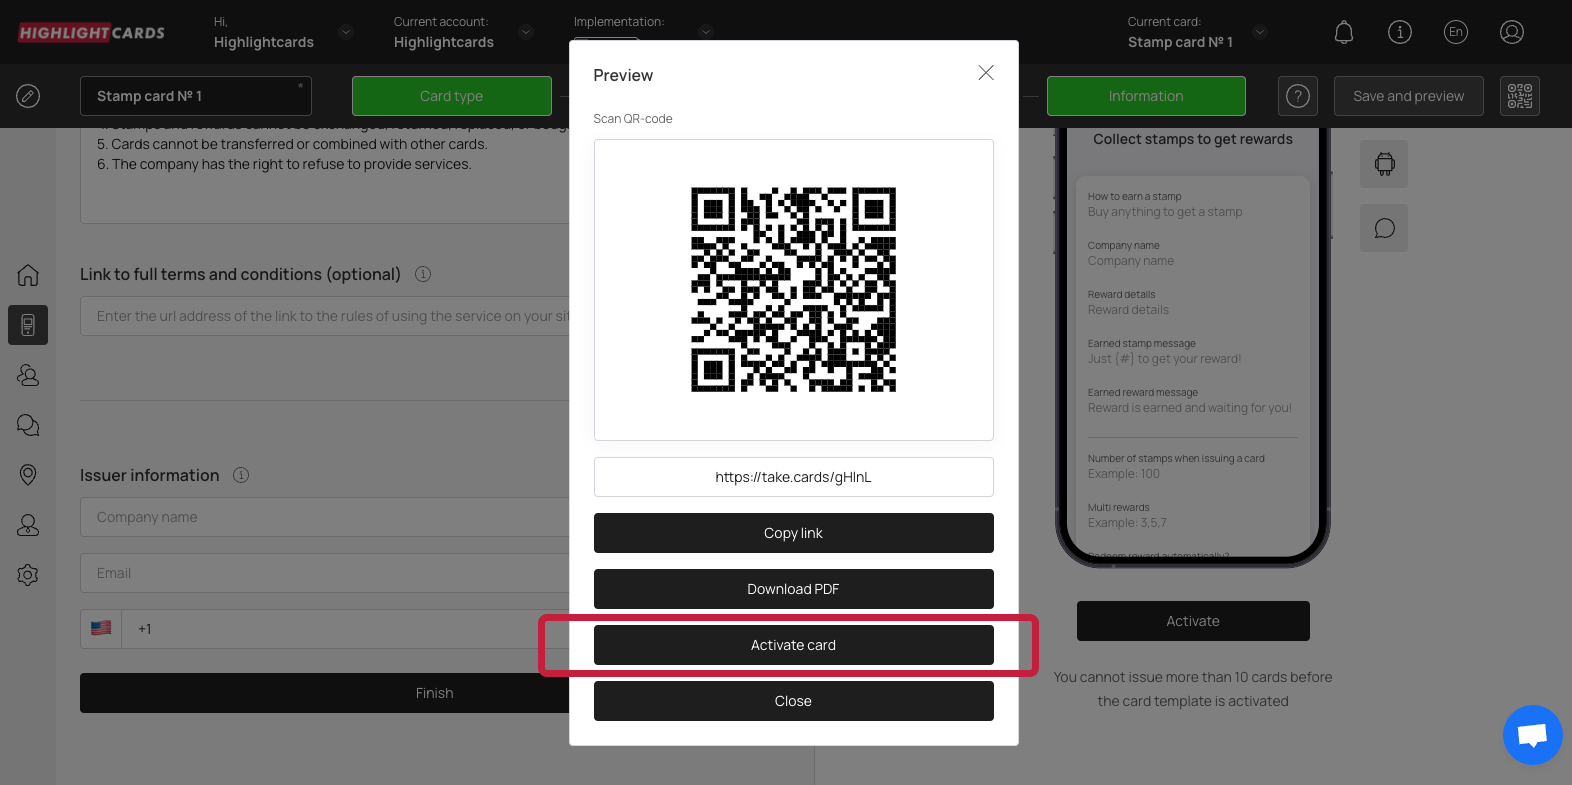
Activate