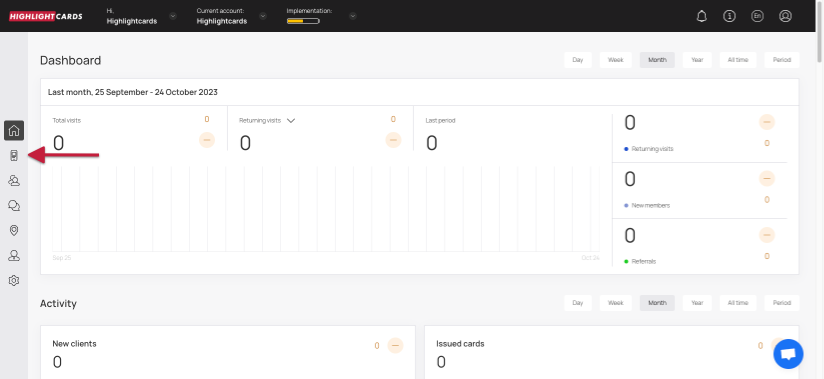
Cards
 icon. Doing so opens the Cards module.
Cards
 button.

From Scratch
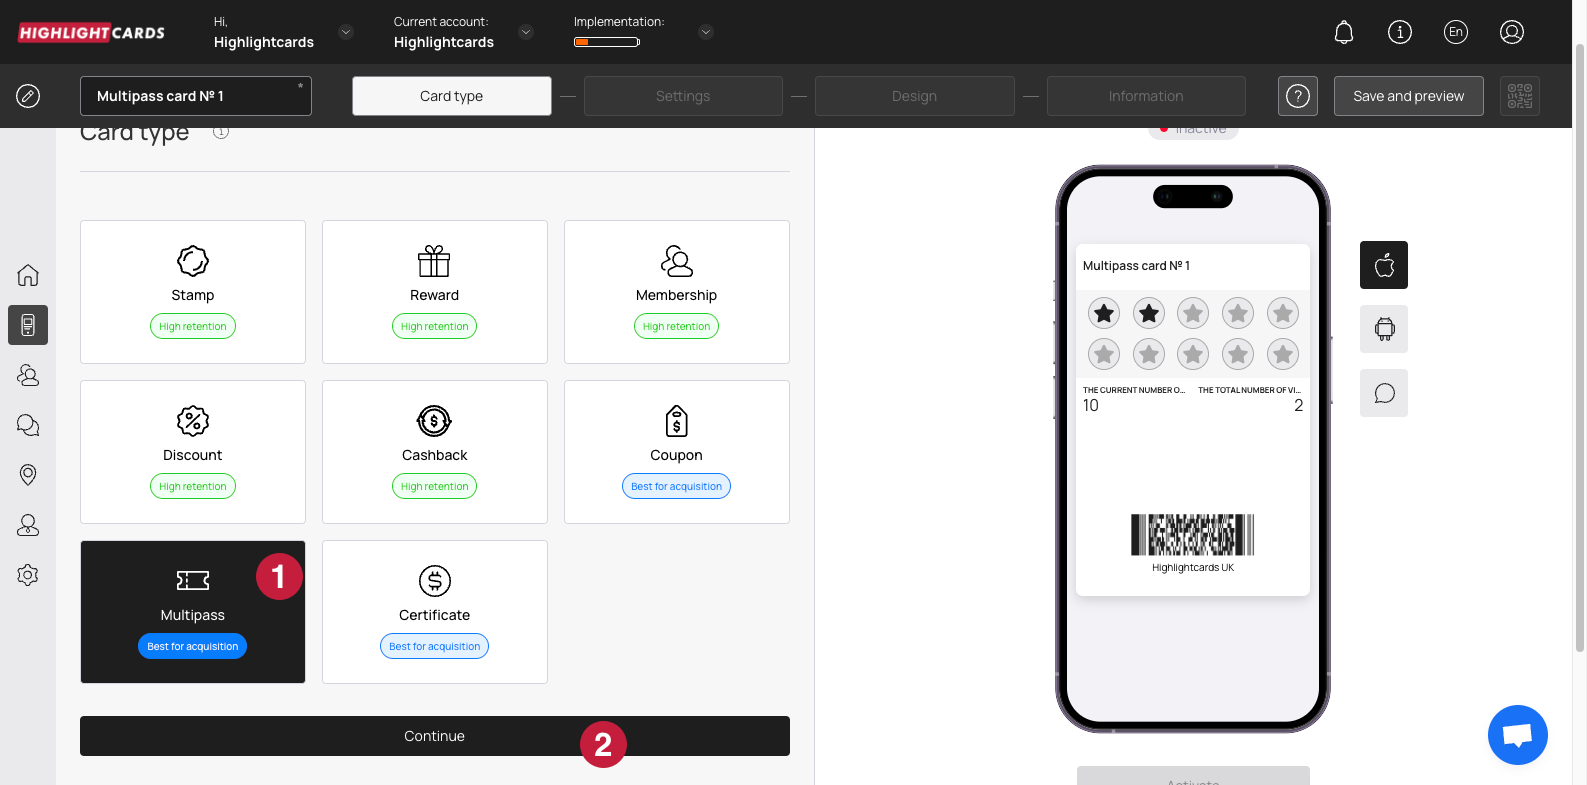
Card Type


.png?alt=media&token=33b40763-98d9-4133-8d49-7c74f853956f)

.png?alt=media&token=1bc56b80-4e83-4e2a-b3c5-5fe75dfe3d18)
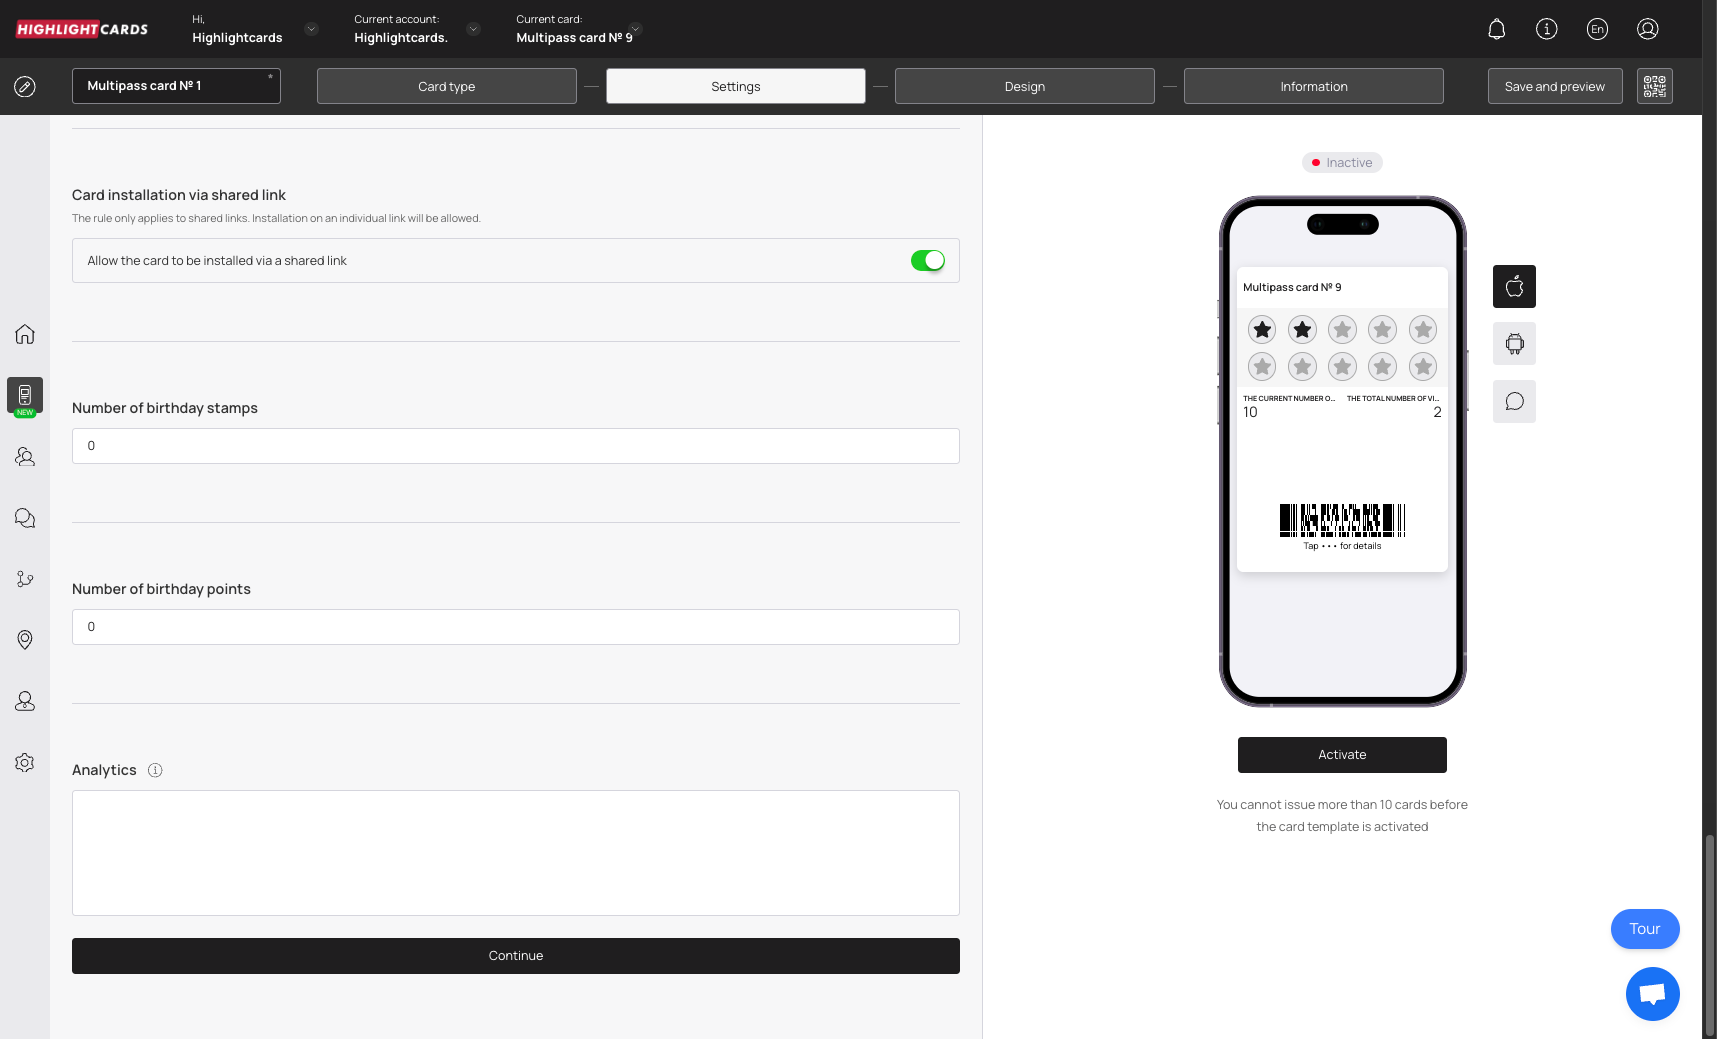

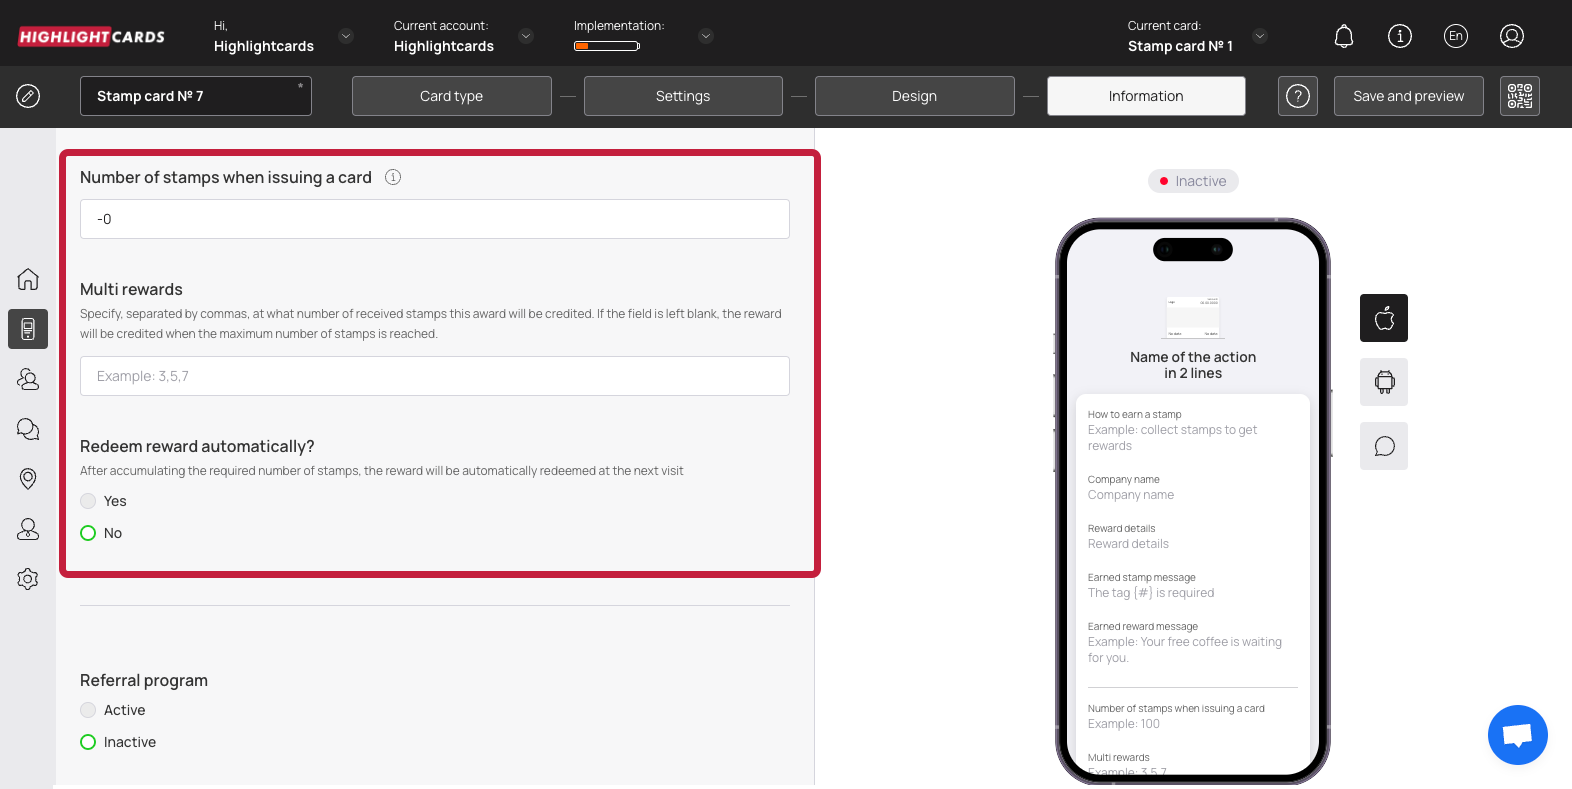
Stamp Count
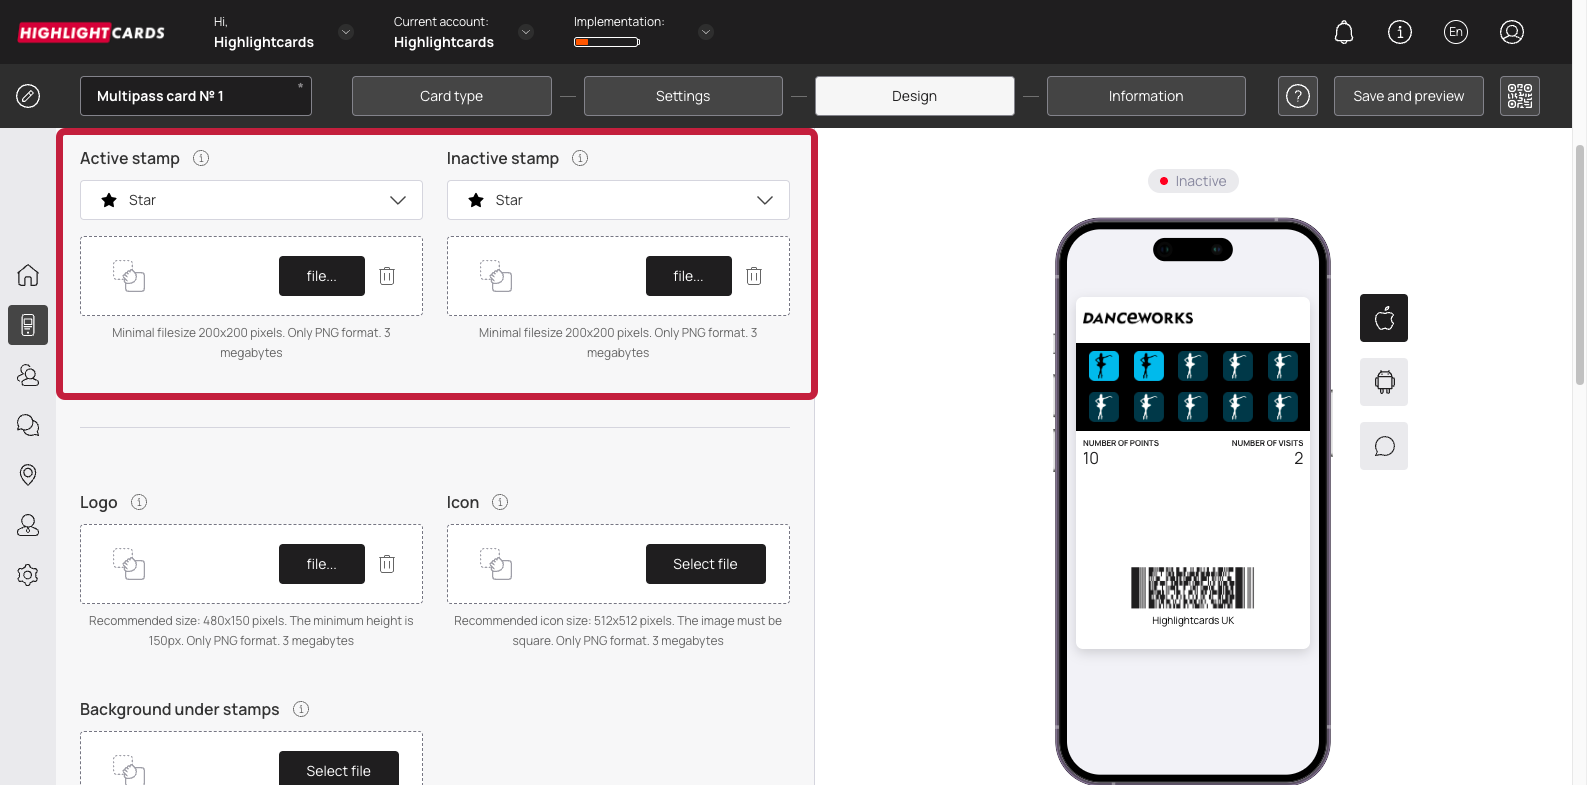
Active Stamp
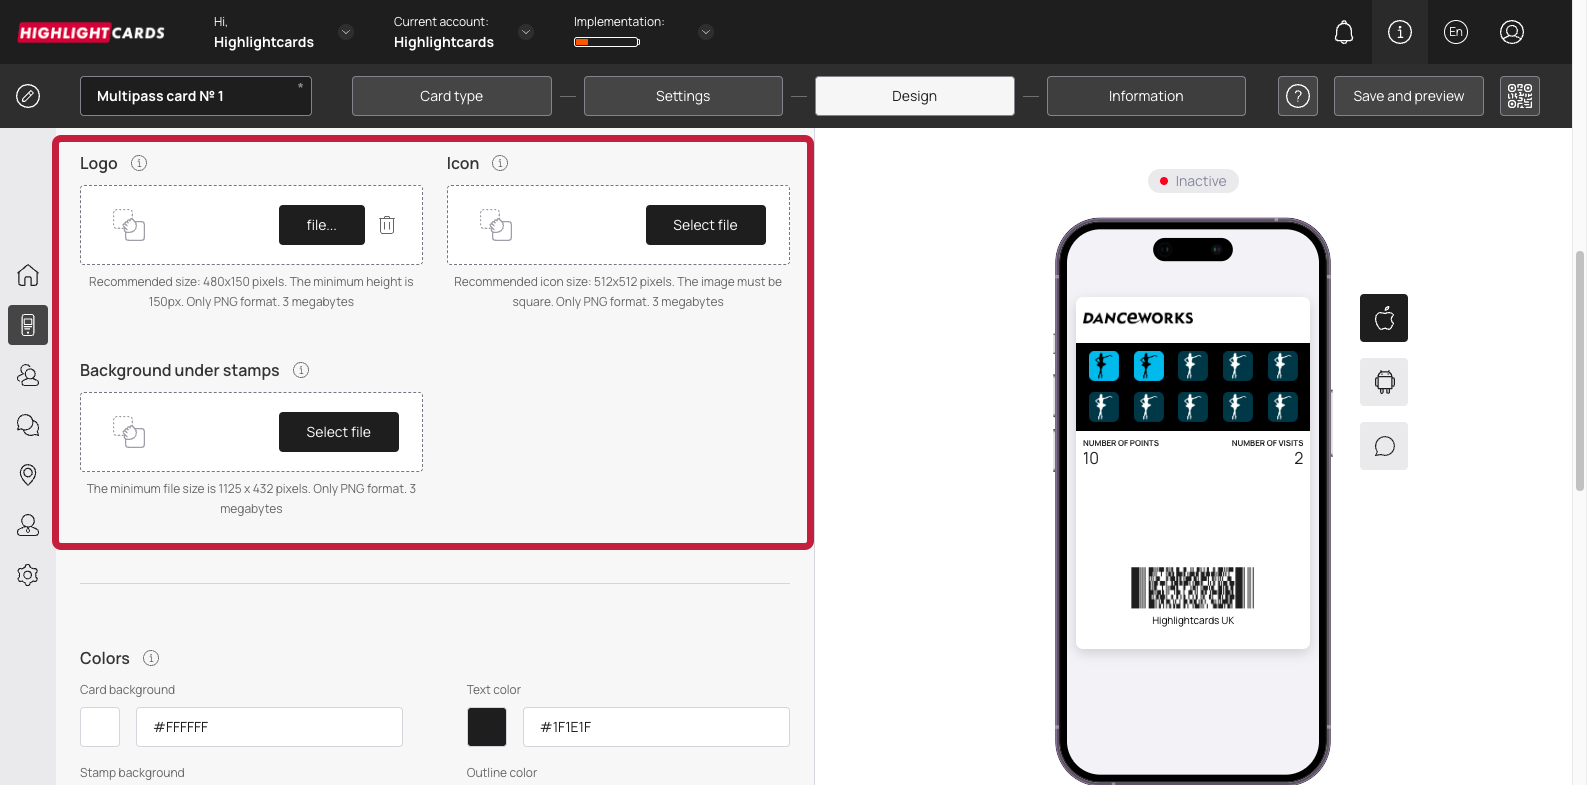
Select File - Logo
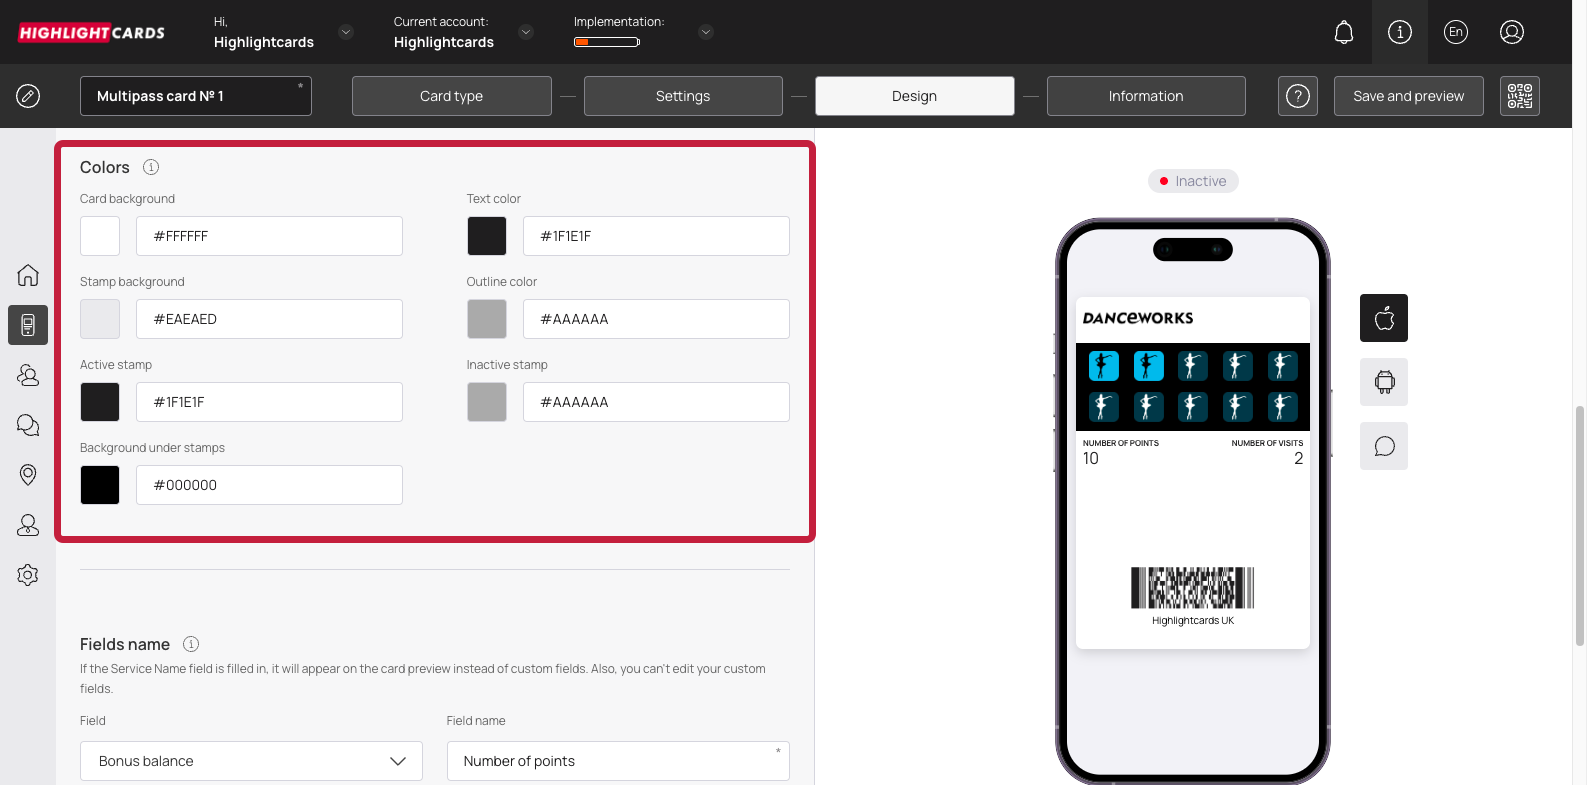
Colors
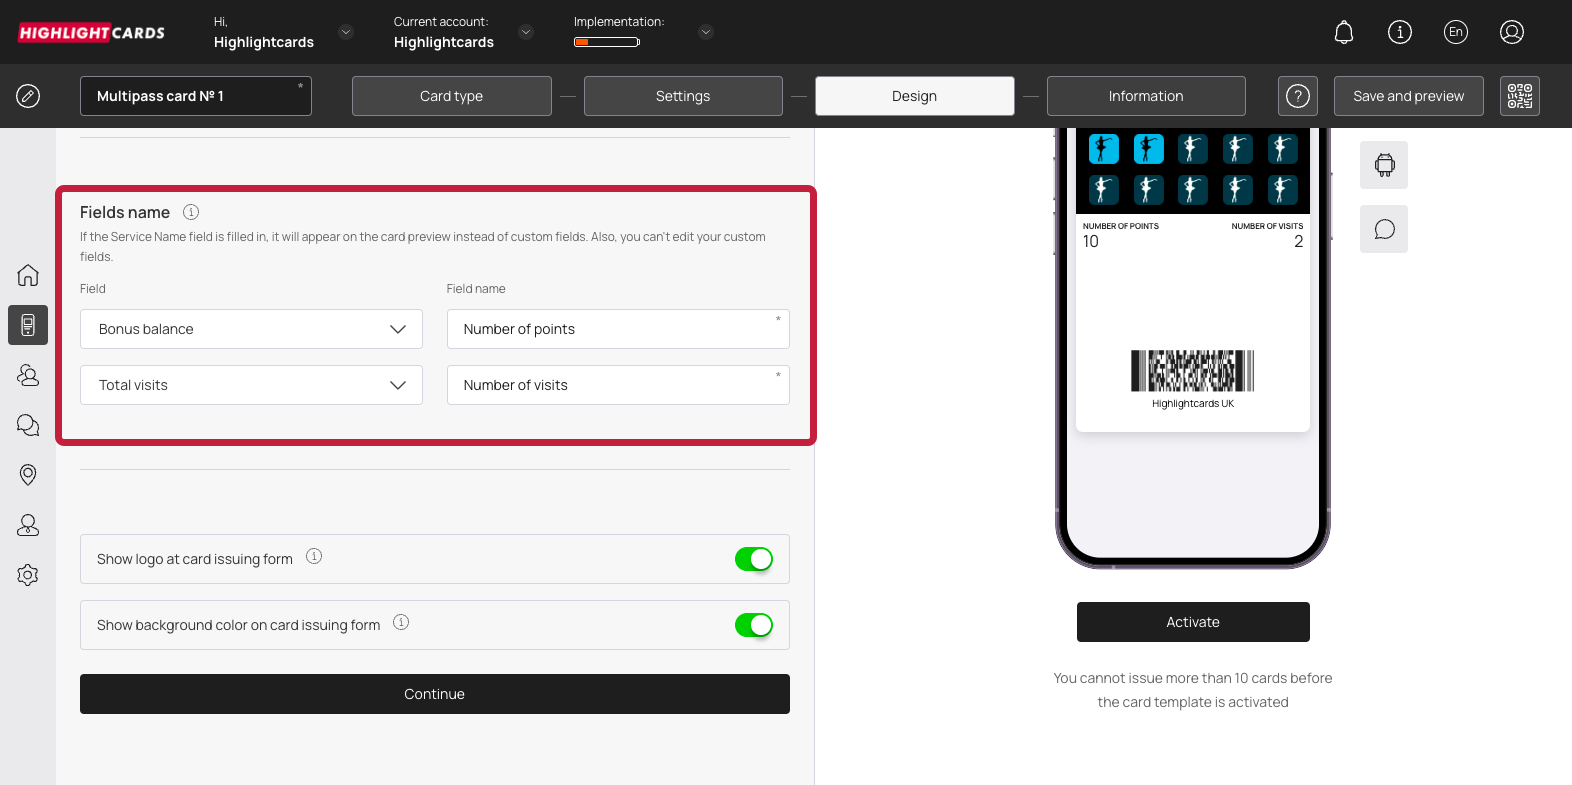
Fields Name

Show Logo

Card Description

Message about the accounted use of the card
Get bonus at the moment when
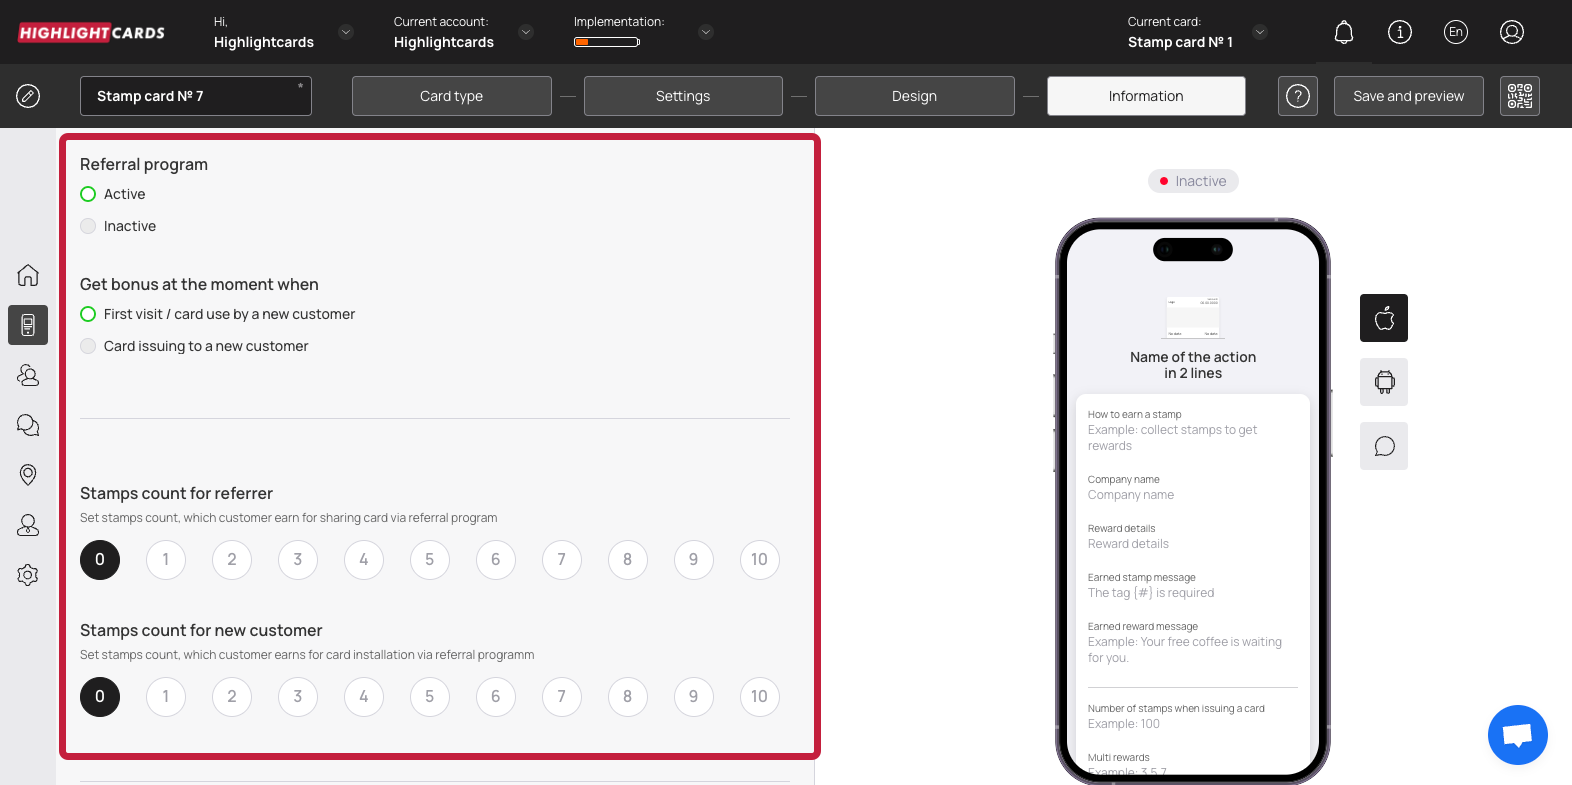
Number of uses of the card for the referrer
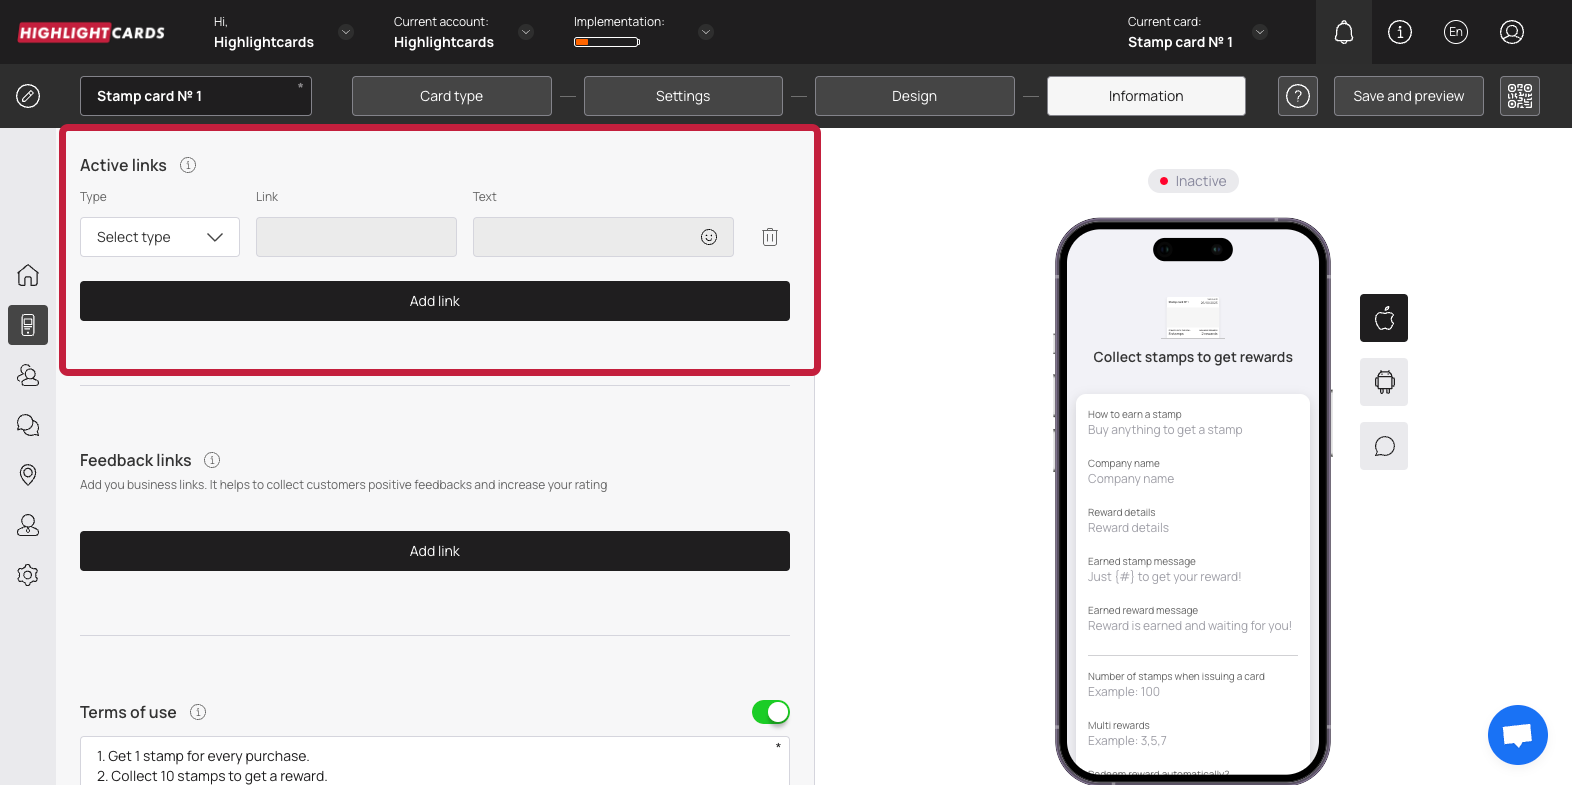
Type
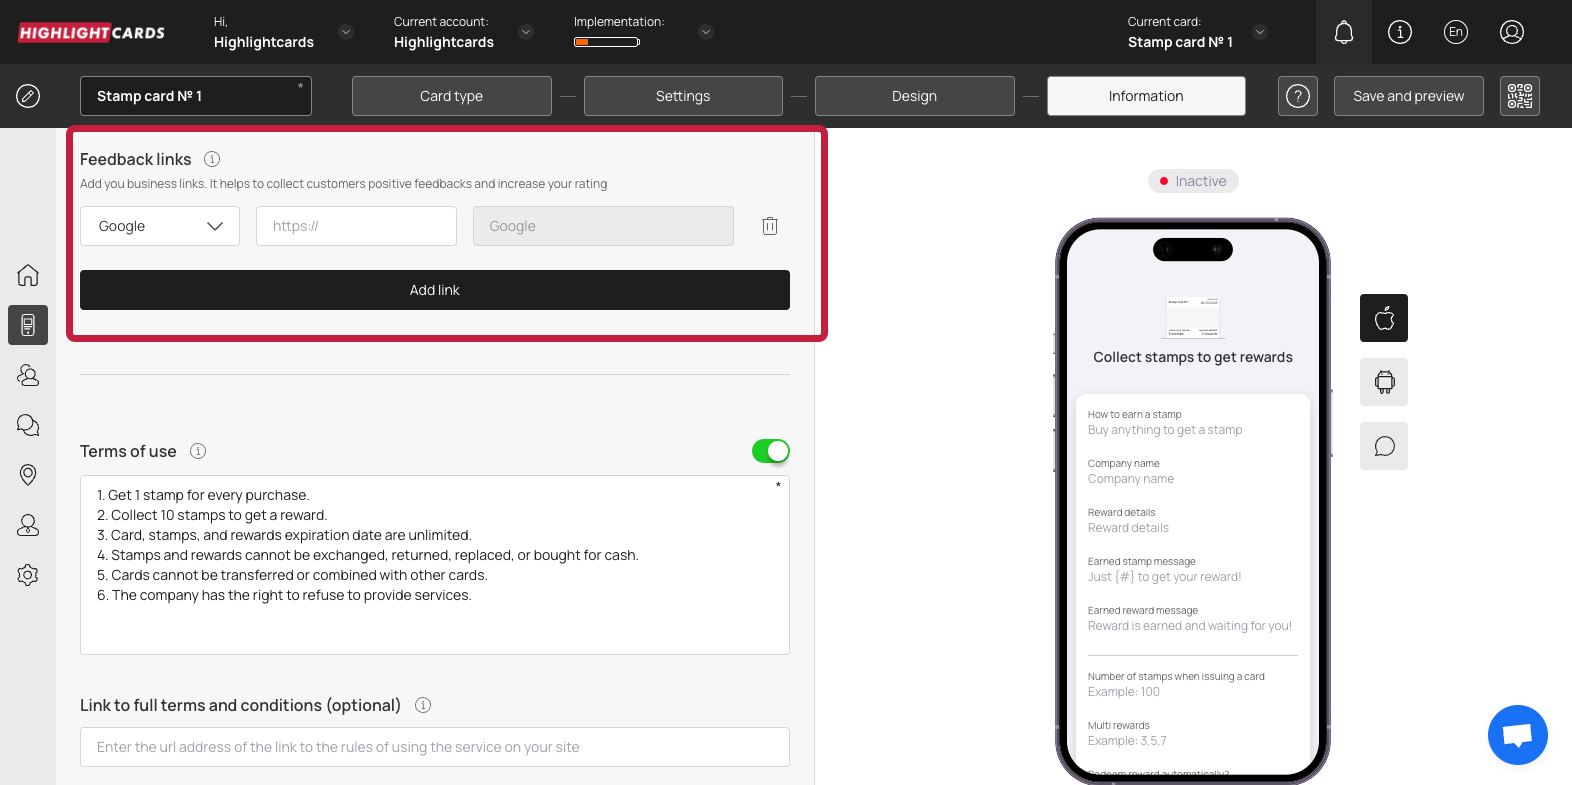
Feedback Links
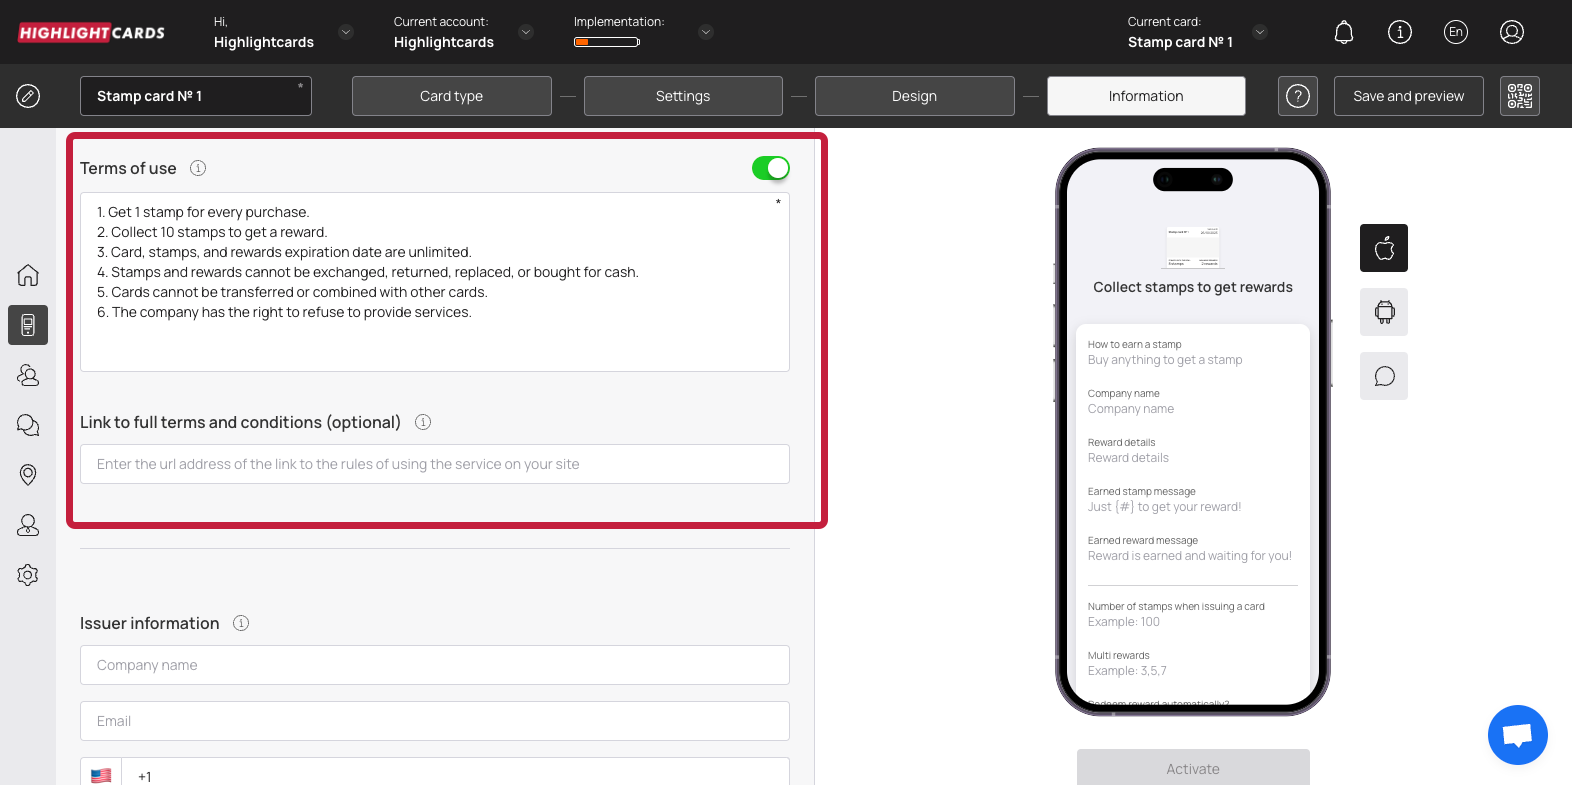
Toggle

Activate